We are in the peak of project management season with numerous roofing projects underway. Here are some key priorities for each phase to ensure smooth management of your roofing projects.
Roofing projects can span months, and that might seem like a hefty commitment. But with good project management, your project can proceed smoothly, finish on time, and stay within budget. We’ve broken it down into three key stages to ensure your project is a success.
Pre-construction
This is where the foundation for success is laid. A solid plan with clear communication is essential. Pre-construction management starts the moment you’re awarded the job and the contract is signed. Key steps include:
- Establish Communication: Set up an efficient way to communicate with the contractor, property manager, and tenants. Early establishment of this keeps everyone in the loop and ensures expectations are clearly communicated throughout the project.
- Understand the Property: Identify whether the property is residential or industrial and any noise ordinances in place. Knowing these details helps set clear working hours and informs schedule and phasing maps.
- Staging Areas: Establish areas for porta potties, dumpsters, equipment, and new materials that need to be stored on-site throughout the project.
- Scheduling and Notifications: Create a clear schedule, then send phasing maps and reminders to the property manager and tenants as soon as possible and reminders before the project begins. This ensures everyone is well-informed about the upcoming work.
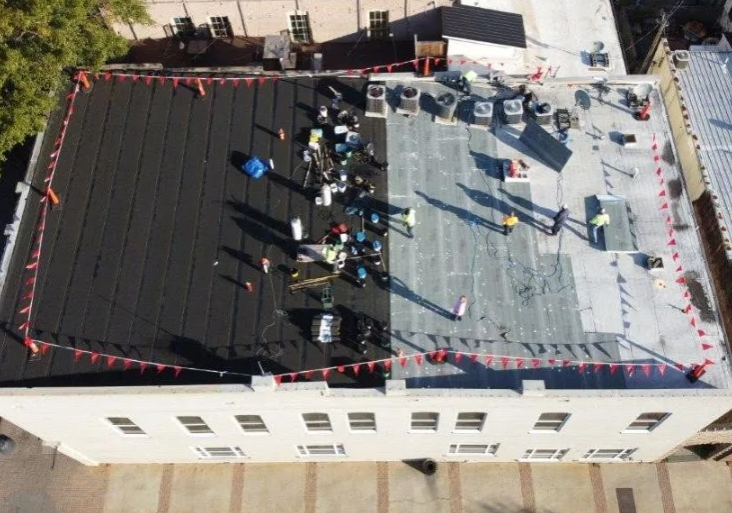
Construction
This stage focuses on the work in progress. While being on-site every day is not necessary, showing up at key times can make all the difference:
- During Demolition: This critical phase might bring up change orders, particularly regarding decking and insulation. Being on-site allows for accurate documentation of any changes.
- Before Billing Dates: Check the project’s progress to ensure accurate billing based on completed work. Multiple billings might occur throughout the project.
- Completion of Each Phase: Document the finished work and address any issues before moving on to the next phase. This helps prevent recurring problems and minimizes backtracking. During on-site inspections key things to check include:
- Proper installation of ice and water barriers according to manufacturer specifications.
- Enhanced fastener patterns at corners and the perimeter, if needed.
- Correct flashing and waterproofing around edges and penetrations.
- Properly raised and protected conduits and curbs.
- Flashing installed around perimeters of HVAC units.
- Final Job Walk: Document the finalized work, obtain necessary permits and have the manufacturers rep inspect the roof for the final punch list and approval of the work for the warranty.
Post-construction
This stage involves completing remaining tasks and ensuring all necessary approvals and documentation are obtained:
- Site Walk with Contractor: Address any immediate issues and create a punch list for items to be completed later.
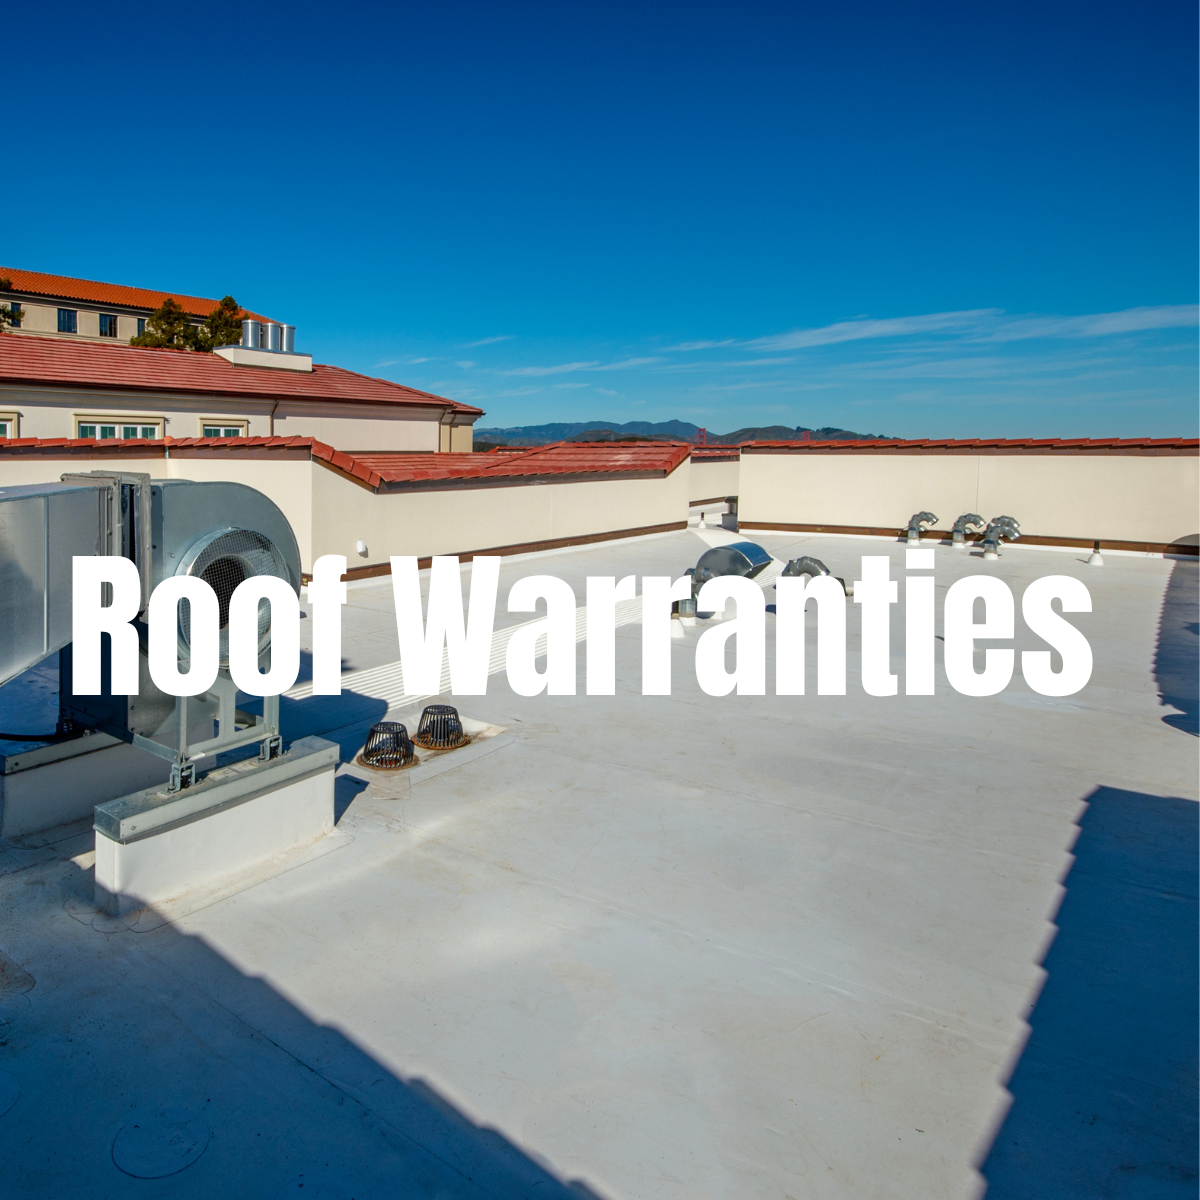
- Schedule Inspections: Arrange for the city to sign off on permits and obtain warranties from the manufacturer.
- Final Documentation: Issue warranty letters and obtain lien releases for completed work.
Managing roofing projects might be a lengthy process, but with clear communication, effective scheduling, and knowing crucial times to be on-site, you can keep your project on track and ensure its success.